LIGHTING SYSTEMS LOCATION INDEX
Back-up light switch
Front combination light
Auto light sensor
Side turn light
Front fog light
Cargo compartment light
Rear combination light
High-mount brak
WIPER/WASHER SYSTEM LOCATION INDEX
Windshield wiper motor
Windshield wiper arm and blade
Wiper and washer switch
Rain sensor
Windshield washer hose
Rear washer hose
Rear washer nozzle
Rear w
ENTERTAINMENT LOCATION INDEX
Center roof antenna
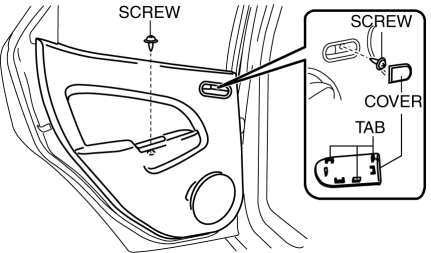
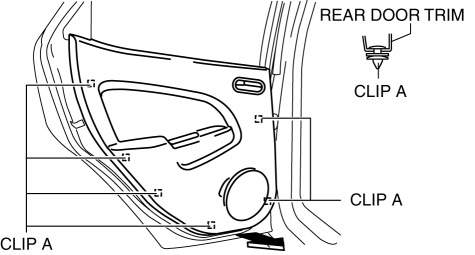
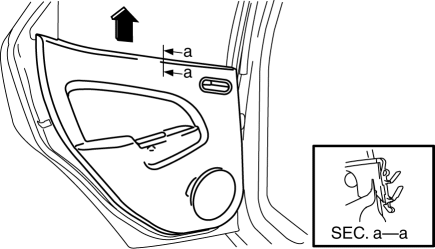
Rear door speaker
Audio control switch
Tweeter
Antenna feeder No.2
Antenna feeder No.1
Center panel unit
Front door speaker
Auxiliary jack/U