Mazda 2: Interior Trim
Mazda 2 2007-2014 Service Manual / Body and Accessories / Interior Trim
INTERIOR TRIM LOCATION INDEX
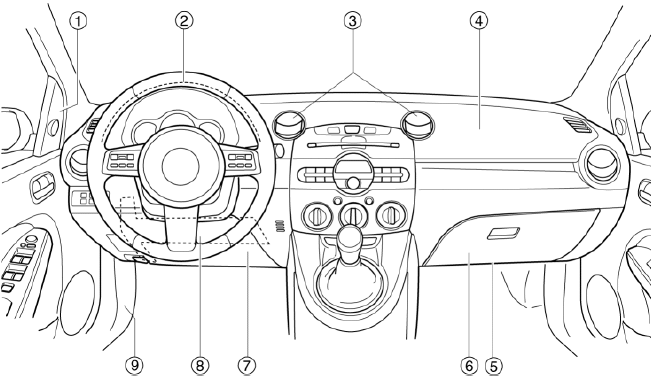
- Inner garnish
- Meter hood
- Ventilator grille
- Dashboard
- Dashboard under cover
- Glove compartment
- Lower panel
- Knee bolster
- Front side trim
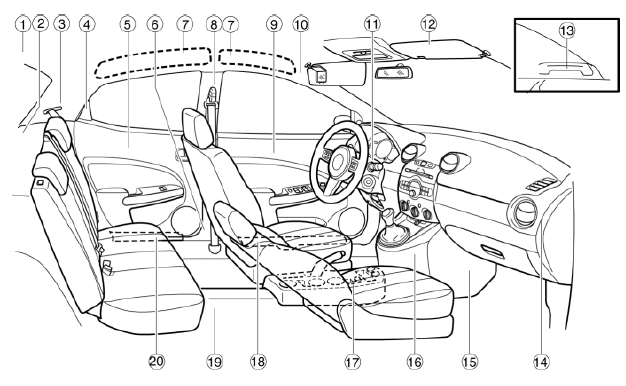
- Headliner
- Trunk side trim
- C-pillar trim
- Sail inner garnish
- Rear door trim
- B-pillar lower trim
- Shock absorbing pad
- B-pillar upper trim
- Front door trim
- A-pillar trim
- Column cover
- Sunvisor
- Assist handle
- Side panel
- Side wall
- Front console component
- Rear console
- Front scuff plate
- Floor covering
- Rear scuff plate
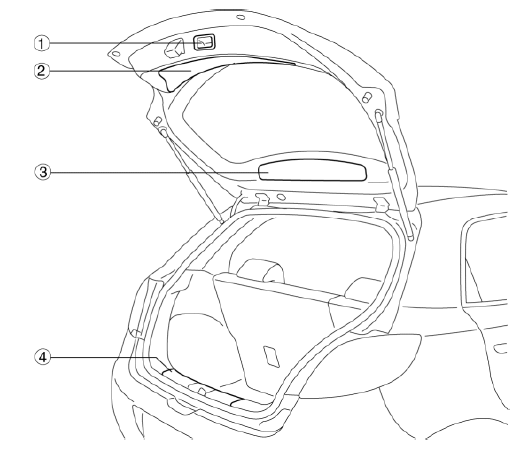
- Liftgate recess
- Liftgate lower trim
- Liftgate upper trim
- Trunk end trim

