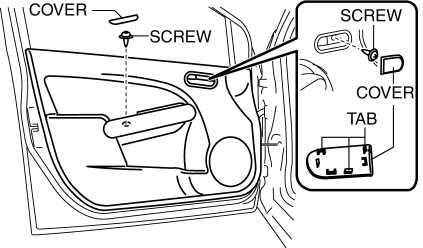
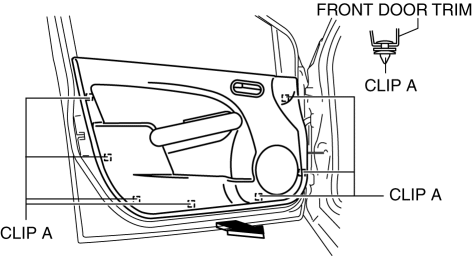
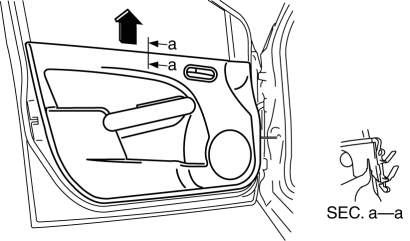
REAR DOOR TRIM REMOVAL/INSTALLATION
1. Disconnect the negative battery cable.
2. Remove the sail inner garnish. (See SAIL INNER GARNISH REMOVAL/INSTALLATION)
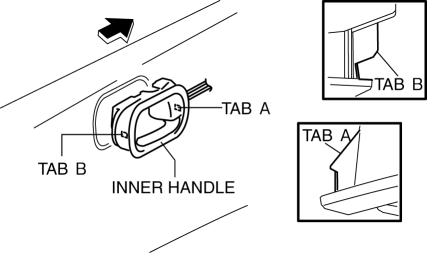
3. Pull the cover of inner handle while r
LIGHTING SYSTEMS LOCATION INDEX
Back-up light switch
Front combination light
Auto light sensor
Side turn light
Front fog light
Cargo compartment light
Rear combination light
High-mount brak
WIPER/WASHER SYSTEM LOCATION INDEX
Windshield wiper motor
Windshield wiper arm and blade
Wiper and washer switch
Rain sensor
Windshield washer hose
Rear washer hose
Rear washer nozzle
Rear w